 Semiahmoo Siding
 Why Birch Bay Siding Takes a Different Approach
Birch Bay sits right up against the water, and that changes what a siding job actually needs to hold up. Homes here take on salt-laden air off the bay, wind-driven rain that hits walls sideways instead of straight down, and a long stretch of the year — roughly October through April — where surfaces rarely fully dry out. That combination is harder on exterior walls than what you'd deal with a few miles inland in Whatcom County. Salt air accelerates corrosion on fasteners and metal trim. Driving rain finds every gap in flashing and caulking that a calmer climate would never expose. And the shade, moisture, and mild temperatures that make Birch Bay pleasant to live in are the exact conditions moss and algae need to take hold on north-facing and shaded wall sections.
None of this means siding installation here is exotic or requires special tricks. It means the fundamentals — drainage, flashing, fastening, and material choice — have to be done correctly, every time, with no shortcuts. A siding job that would pass fine in a drier climate can fail in five years on a Birch Bay lot facing the water.
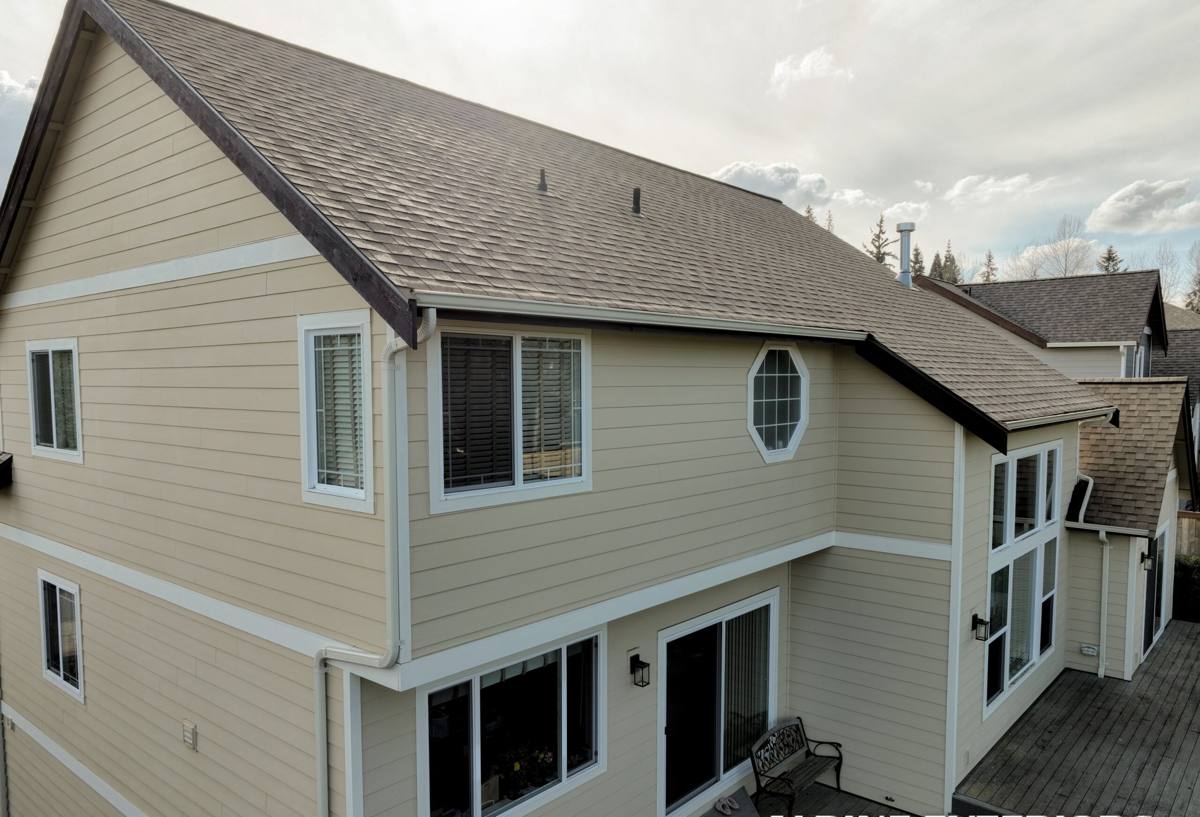
What Local Homes Actually Need From Their Siding
A Real Drainage Plane
Modern siding isn't supposed to be waterproof on its own — it's supposed to shed the majority of water while a weather-resistant barrier and drainage gap behind it handle whatever gets through. On a site like Birch Bay, where wind-driven rain is routine rather than occasional, that drainage plane is doing real work all winter. Skipping a proper rainscreen gap, using the wrong housewrap, or taping seams incorrectly is the kind of shortcut that doesn't show up as a problem until years later, when the sheathing behind the siding is already wet.
Flashing That Actually Sheds Water
Window heads, door tops, deck ledgers, and any horizontal trim need flashing detailed so water is directed out and away from the wall assembly, not just covered. In a climate with this much sideways rain, flashing isn't a formality — it's the difference between a wall that stays dry and one that slowly rots from the inside where nobody can see it.
Fastener and Trim Choices That Resist Salt
Being close to the water means standard fasteners and trim hardware corrode faster than they would inland. Correct installation on a Birch Bay home means using fasteners and flashing metals rated for that exposure, not whatever is cheapest or most convenient to source.
Clearance and Ventilation to Discourage Moss
Moss and algae need sustained moisture and limited airflow. Proper ground clearance, trimmed vegetation lines, and a siding profile that allows the wall to dry between rain events all reduce how much moss and mildew take hold — especially on the shaded, north-facing walls that are common on wooded Birch Bay lots.
Why We Install Only James Hardie Fiber Cement
We don't install vinyl, LP SmartSide, primed spruce, cedar, or other fiber cement brands. That's a deliberate standard, not a limitation of what we're capable of installing. In a marine, moss-prone climate like Birch Bay's, the material itself matters as much as the installation:
- Fiber cement doesn't feed mold or moss the way wood-based products can when moisture sits against them.
- It's dimensionally stable in a climate that swings between saturated winters and drier summers, so it doesn't cup, swell, or warp the way some wood-composite products can over time.
- James Hardie's ColorPlus factory finish is baked on and warranted against fading and cracking, which matters on homes exposed to constant salt air and UV off the water.
- Hardie's HZ5 product line is engineered specifically for the kind of high-moisture, freeze-thaw-adjacent climate found in this part of the Pacific Northwest.
- It's non-combustible, which is a meaningful, permanent advantage no coating or maintenance schedule can replicate in other materials.
We're not saying every other product on the market is worthless — some have real strengths. But once you factor in what this specific stretch of coastline does to a wall over 20-plus years, Hardie is the material we're willing to put our name behind here.
How Our Installation Process Works
1. Site and Wall Assessment
Before anything comes off the house, we look at exposure direction, existing moisture damage, current flashing condition, and how the home is currently ventilated. A wall facing the water gets treated differently than a sheltered wall on the same house.
2. Removal and Sheathing Check
Old siding comes off and the sheathing underneath gets inspected. This is often the first time hidden water damage from old flashing or caulk failures becomes visible — and it needs to be addressed before new siding goes back on, not covered up.
3. Weather-Resistant Barrier and Drainage Gap
We install a code-compliant weather-resistant barrier with a drainage gap behind the siding, so any water that gets past the cladding has somewhere to go besides your wall sheathing.
4. Flashing at Every Penetration
Windows, doors, hose bibs, vents, and any other wall penetration get flashed to direct water outward, not just sealed with caulk as an afterthought.
5. Hardie Installation to Manufacturer Spec
Fastener spacing, board overlap, and joint treatment follow James Hardie's published installation requirements — which is also what keeps the manufacturer's warranty valid. Installed outside of spec, even the best siding material won't perform the way it's designed to.
6. Trim, Caulking, and Final Walkthrough
Trim and caulking are finished with attention to the same water-shedding principles used throughout, and we walk the finished job with the homeowner before calling it done.
Signs Birch Bay Homeowners Should Watch For
Because of the local exposure, certain warning signs show up earlier here than they would inland:
- Persistent moss or dark streaking on north- or shade-facing walls that keeps returning after cleaning.
- Soft or spongy siding near the ground line, around windows, or below deck ledgers.
- Visible rust bleeding from fasteners or trim, a sign the hardware isn't holding up to the salt air.
- Paint or finish that's failing faster on wind-facing walls than on sheltered ones.
- Gaps opening up at caulked joints, especially around trim and window edges, after a few winters.
Any of these can mean the drainage plane or flashing behind the siding has already been compromised, even if the siding surface itself still looks okay.
Comparing Siding Options for a Birch Bay Exposure
| Factor | James Hardie Fiber Cement | Vinyl | Wood / Engineered Wood |
|---|---|---|---|
| Moisture and moss resistance | Strong — doesn't feed organic growth | Doesn't rot, but seams can trap moisture behind panels | Vulnerable without diligent maintenance |
| Performance in wind-driven rain | Stable if installed with proper drainage plane | Can flex and gap under wind loading | Prone to swelling at joints and edges |
| Salt air / coastal exposure | Factory finish holds up well | Can become brittle over time | Finish and substrate degrade faster |
| Fire resistance | Non-combustible | Combustible | Combustible |
| Typical lifespan when installed correctly | Multiple decades, factory finish warranted | Decades, but finish fades and becomes brittle | Shorter without consistent upkeep |
Cost Factors to Expect
| What Affects Price | Why It Matters in Birch Bay |
|---|---|
| Wall exposure and elevation | Wind-facing sides may need extra flashing and drainage detailing |
| Condition of existing sheathing | Hidden moisture damage found during tear-off adds repair scope |
| Home size and trim complexity | More corners, windows, and trim lines mean more flashing and labor |
| Siding profile and finish selection | Lap width, texture, and ColorPlus color affect material cost |
| Access and site conditions | Waterfront and sloped lots can affect staging and scaffolding needs |
We won't quote a number without seeing the house — anyone who does is guessing. What we can tell you upfront is that the biggest cost swings usually come from what's discovered once old siding comes off, not from the new material itself.
What to Ask Before You Hire
Whoever you hire for siding installation on a Birch Bay home should be able to answer these clearly:
- Do you install to the specific manufacturer's fastening and clearance requirements, or a generic standard?
- What weather-resistant barrier and drainage gap system do you use, and why?
- How do you flash windows, doors, and penetrations — walk me through it, not just "we caulk it"?
- Have you worked on homes with direct water exposure in this area before?
- What does the manufacturer's warranty require in terms of installation, and will the job qualify?
A crew that's used to working this stretch of coastline will have specific, confident answers to all five. Vague answers on flashing or drainage are the biggest red flag in a climate like this one.
Local Experience Matters More Than It Sounds Like
Siding installation isn't fundamentally different in Birch Bay than anywhere else — the code requirements and manufacturer specs are the same. What's different is judgment: knowing which walls on a given lot take the worst of the wind and rain, where moss is going to be a recurring problem, and which details can't be treated as optional because the climate won't forgive them. A crew that installs siding across Whatcom County and the Semiahmoo area regularly sees how different installation choices actually hold up here over years, not just how they look on installation day.
If your Birch Bay home needs new siding or you're seeing early signs of trouble with what's on there now, we're happy to take a look and give you a straightforward, no-pressure estimate — no obligation, just an honest read on what your home needs.