 Semiahmoo Siding
 Why Birch Bay's Coastal Climate Is Tough on Siding
Birch Bay sits right on the water along the same stretch of Whatcom County coastline we work up and down every week, and that location comes with a specific set of siding problems that inland homes rarely deal with. Salt-laden air off the water accelerates corrosion on fasteners, hinges, and any exposed metal trim, and it breaks down cheaper paint finishes faster than the manufacturer's warranty ever accounted for. Add in driving rain that comes sideways during winter storms, and siding on the water-facing walls of a home takes a beating that siding three miles inland simply doesn't.
Then there's moss. Whatcom County's damp, mild winters and shaded, tree-lined lots common around Birch Bay create a moss and algae season that can run eight or nine months out of the year on north-facing walls and anywhere tree cover blocks the sun. Moss holds moisture against the siding surface long after a storm has passed, and that constant dampness is one of the biggest drivers of rot, delamination, and finish failure we see on repair calls in this area.
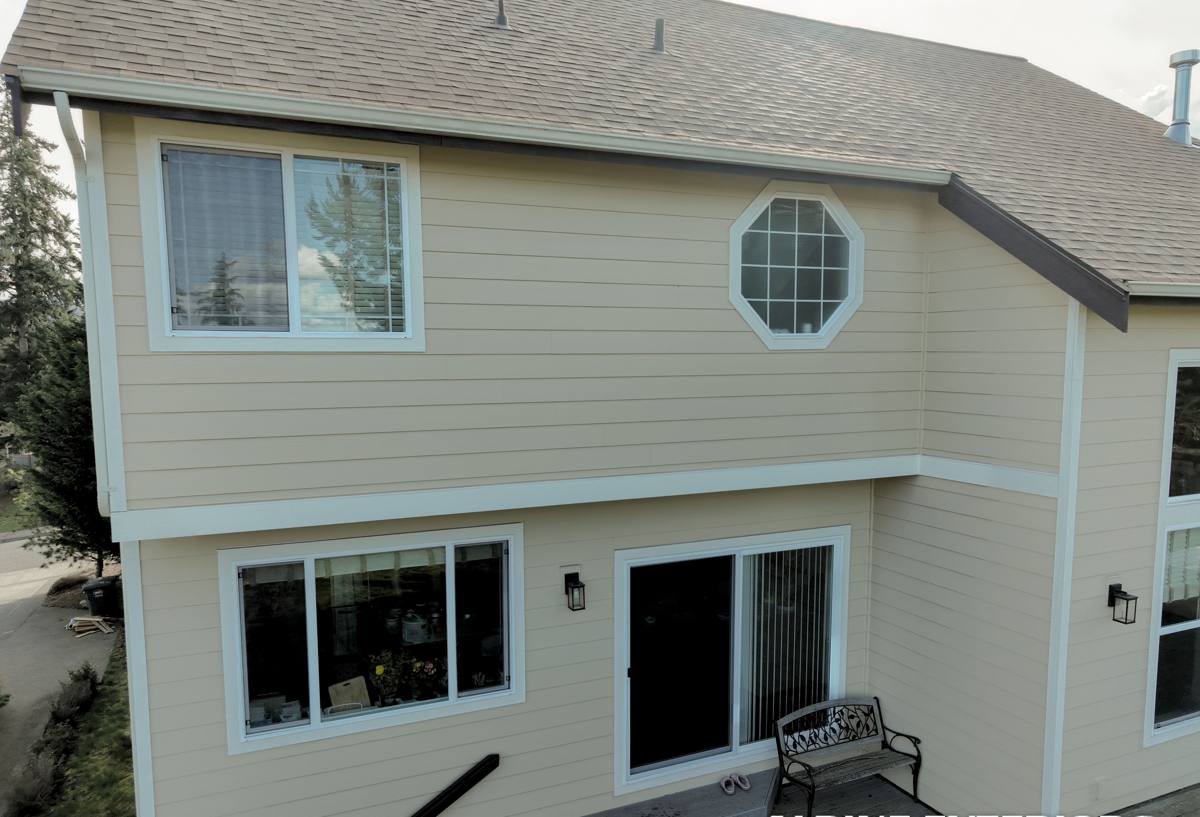
Signs Your Siding Needs Repair, Not Just a Cleaning
Visible Damage
Some problems are easy to spot from the ground: cracked or buckled boards, soft or spongy spots when you press on the siding, peeling or bubbling paint, dark staining that won't scrub off, and heavy moss or algae growth that keeps coming back no matter how often it's cleaned. Gaps opening up around trim, windows, or corner boards are another red flag — they're usually a sign that caulking has failed or that the siding itself has shrunk, swollen, or shifted.
Hidden Moisture Signs
The damage that costs the most to fix is usually the kind you can't see from the yard. Musty odors near exterior walls, soft or discolored drywall on interior walls, warped baseboards or window trim, and unexplained increases in heating bills can all point to moisture that's already worked its way behind the siding and into the wall assembly. By the time these signs show up inside, the repair almost always needs to go deeper than the visible siding layer.
What a Correct Siding Repair Actually Involves
A lot of siding "repairs" in this region amount to caulking a crack, slapping on a patch, or painting over a stain — and none of that fixes what's actually wrong. A correct repair starts with figuring out why the siding failed in the first place, not just covering up the symptom.
That means checking what's behind the siding: the weather-resistive barrier (house wrap), the flashing around windows, doors, and roof-to-wall intersections, and the condition of the sheathing underneath. If water has been getting behind the siding through a bad flashing detail or a failed seal, replacing the visible boards without fixing that entry point just guarantees the same damage comes back in a year or two. We also check fastening patterns, since siding that was nailed too tight, too loose, or with the wrong fastener type will fail again even with brand-new material.
Common Problem Areas We See on Birch Bay Homes
Waterfront and Wind-Exposed Lots
Homes with a clear line to the water take the worst of the wind-driven rain and salt exposure. We typically find the most fastener corrosion, finish breakdown, and caulk failure on the walls and corners that face open water or sit without much windbreak.
Wooded and Shaded Lots
Further back from the shoreline, tree cover changes the problem from wind and salt to shade and standing moisture. These homes tend to show heavier moss and algae growth, slower drying after rain, and rot concentrated on north-facing walls and anywhere gutters or downspouts aren't keeping water moving away from the siding.
Older Homes with Original Siding
Birch Bay has a real mix of home ages, from older cabins and cottages that have been converted to year-round homes to newer builds. On older homes we often find original wood or hardboard siding that's simply reached the end of its service life, plus decades of paint layers that are masking the true condition of the boards underneath.
Repair or Replace? How We Make That Call
Not every damaged section needs a full re-side, and we're not going to tell you it does. But there's a point where patch repairs stop making financial sense and a section replacement — or a full re-side — becomes the more honest recommendation. Here's generally how we think through it:
| Factor | Repair Usually Makes Sense | Replacement Usually Makes Sense |
|---|---|---|
| Extent of damage | Isolated to one or two wall sections | Spread across multiple walls or elevations |
| Underlying structure | Sheathing and framing are sound | Rot has reached the sheathing or framing |
| Siding material | Still available or reasonably matched | Discontinued, badly faded, or incompatible with patch material |
| Cause of failure | A fixable, isolated cause (bad flashing detail, one failed seam) | A systemic cause affecting the whole assembly (widespread moisture intrusion, product-wide failure) |
| Age of existing siding | Still within its useful service life | At or past the end of its expected lifespan |
We'll walk you through exactly which category your home falls into and why, with photos and plain explanations — not a sales pitch toward the bigger job.
Our Birch Bay Repair Process
- Inspection. We walk the exterior and identify every area of concern, not just the spot you called about.
- Moisture check. Where we suspect hidden damage, we use a moisture meter to get actual readings rather than guessing.
- Diagnosis and plan. We explain what caused the damage, what needs to be opened up to fix it properly, and what your repair or replacement options are.
- Sourcing material. For Hardie repairs, we match the profile, exposure, and factory finish as closely as the current product line allows.
- Repair work. Damaged material comes out, the barrier and flashing underneath get corrected if needed, and new material goes in fastened to spec.
- Final check. We inspect seams, caulking, and paint or finish match before calling the job done.
Why We Rebuild Damaged Sections with James Hardie
When a repair calls for new material, we use James Hardie fiber cement — it's the only siding product we install, on repairs and full re-sides alike. In a climate like this one, that choice matters for a practical reason: Hardie's HZ product lines are engineered for exactly the moisture and humidity conditions Whatcom County deals with, and the ColorPlus factory finish holds up to sun, salt air, and repeated wetting far better than field-applied paint on wood or hardboard. It's also non-combustible, which matters given how many Birch Bay properties sit close to trees and brush. When we patch in Hardie next to existing Hardie siding, the match in profile and finish is close enough that repaired sections don't stand out — something that's much harder to pull off when patching wood, vinyl, or older hardboard products.
Why a Local Birch Bay Crew Matters for Repairs
Siding repair is a trade where local knowledge actually changes the outcome. A crew that works this stretch of coastline regularly already knows which walls take the worst of the wind and salt, which lots hold moss longer because of tree cover, and which older homes in the area are likely to have hidden issues under the visible siding. That means fewer surprises, a faster and more accurate diagnosis, and a repair plan built around how your specific property sits relative to the water and the tree line — not a generic approach pulled from a job three counties away. Being local also means we're not driving hours to get back out for a warranty check or a follow-up if something needs a second look.
Keeping Your Siding in Good Shape After the Repair
A good repair buys you years of extra life from your siding, but a little upkeep protects that investment — especially in a moss-prone, salt-air environment like Birch Bay.
- Rinse siding down at least once or twice a year to clear salt residue, pollen, and early moss growth before it takes hold.
- Keep tree branches trimmed back from the house to reduce shade and let walls dry out faster after rain.
- Check and clean gutters regularly so water isn't overflowing onto siding below.
- Re-caulk around windows, doors, and trim joints as soon as you notice cracking or gaps — this is the cheapest way to prevent a much bigger repair later.
- Walk the exterior once or twice a year and look for the early warning signs covered above, rather than waiting until damage is visible from the street.
If you're seeing damage, staining, or persistent moss on your Birch Bay home and want a straight answer on what it will take to fix it right, we're glad to take a look. Reach out for a free, no-pressure estimate using the form below.