 Semiahmoo Siding
 Building New in Peace Arch: Why Window Installation Deserves Extra Care
If you're framing a new home or doing a full re-side down to the studs in the Peace Arch area, the windows are one of the few details that will quietly define how the house performs for the next 20-plus years. Get the flashing and sequencing right and the window openings become the strongest, most weather-resistant part of the wall assembly. Get them wrong, and you've built a house with dozens of small leak points hidden behind trim and siding — the kind of problem that doesn't show up until the drywall is already stained.
New-construction window installation is a different job from swapping out an old window in an existing wall. It happens earlier in the build, it has to integrate correctly with the weather-resistive barrier and the siding, and in a place like Semiahmoo — with salt air off the water, wind-driven rain, and a long moss season — the margin for error is smaller than it would be in a drier inland climate.
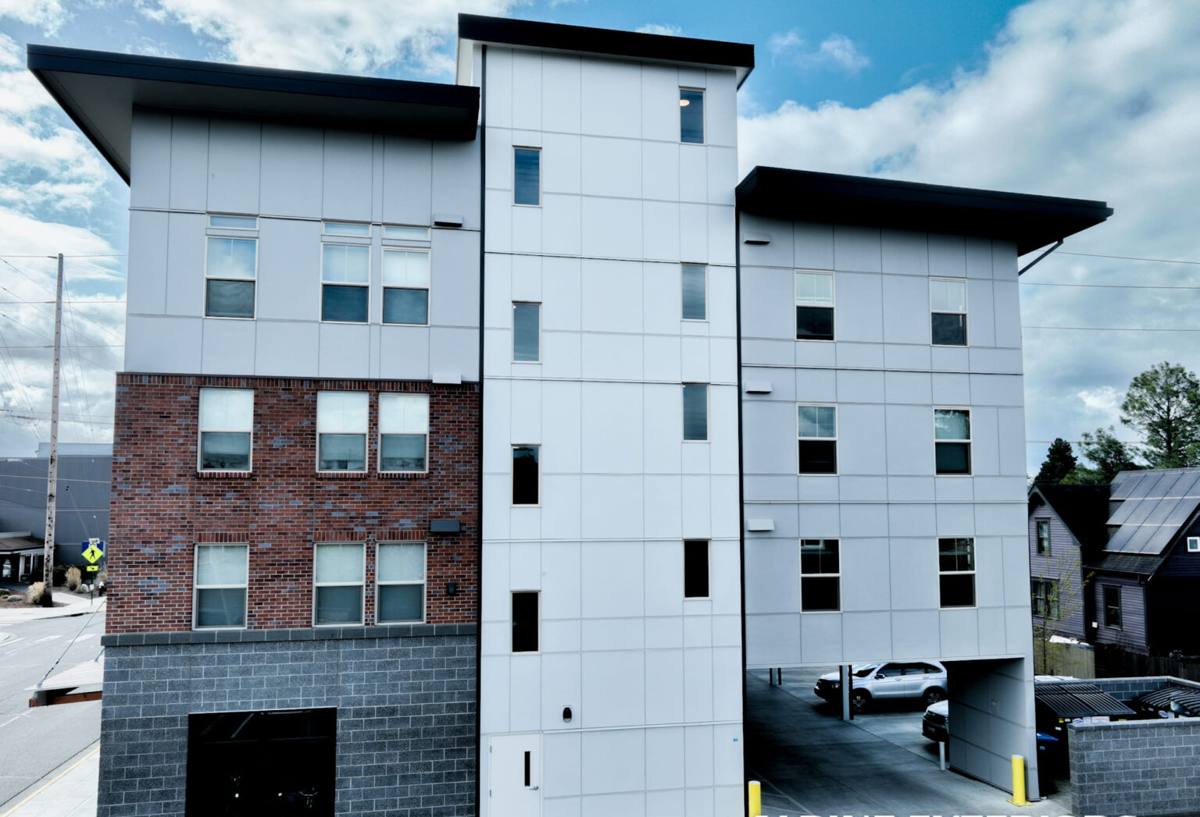
What Salt Air, Driving Rain, and Moss Season Do to a New Window Opening
Whatcom County's coastal position means new construction here has to plan for three things that a lot of generic window guidance doesn't cover.
Salt Air and Corrosion
Homes close to Semiahmoo Bay and the Strait of Georgia see more airborne salt than homes even a few miles inland. Salt air accelerates corrosion on unprotected fasteners, hinges, cranks, and low-grade hardware. It also breaks down cheap sealants and finishes faster than a dry climate would. The fix isn't complicated, but it has to be deliberate: stainless or coated corrosion-resistant fasteners, hardware rated for coastal exposure, and frame materials that don't rely on a painted or anodized finish to stay protected.
Wind-Driven Rain and Flashing
Storms coming off the water don't just drop rain straight down — they push it sideways and upward into every seam, joint, and reveal around a window opening. A window that's simply caulked into place will eventually take on water in these conditions. What actually keeps water out is the flashing detail: a sloped sill pan, properly lapped flashing tape, and a head flashing that sheds water out and away from the wall, all integrated with the housewrap in the correct shingle-lap order so water always drains down and out, never into the wall cavity.
Moss Season and Drainage
The long damp season here means anything that stays wet for extended periods — a window sill without slope, a horizontal trim board with no drip edge, a shaded north-facing elevation — will eventually grow moss or algae. That's mostly a cosmetic issue on trim, but on a window sill it's also a sign that water isn't draining the way it should, which over time works against the flashing and the sealant joints. Correct slope and drainage detailing at install time prevents both problems at once.
New-Construction Windows vs. Replacement Windows
It's worth being clear about what "new-construction windows" actually means, because it changes how the job is done. New-construction windows have a nailing fin around the perimeter of the frame and are installed into a rough opening before the siding goes on — either on a new build or a project where the old siding and windows are coming off down to the sheathing. Replacement (insert) windows go into an existing frame with the exterior trim and siding left in place.
New-construction installs give a crew more access to do the job right: the sheathing and housewrap are exposed, the rough opening can be inspected and corrected before the window ever goes in, and the flashing can be built in proper sequence with the weather-resistive barrier rather than worked around it. That's an advantage worth using — it's the one point in the whole life of the wall where every layer of the water management system is visible and adjustable at the same time.
Choosing the Right Frame Material for a Coastal Build
There's no single "best" window frame material for every project — it depends on budget, style, and how exposed the elevation is to wind and salt spray. Here's how the common options generally compare for a Peace Arch build:
| Frame Material | Salt Air / Corrosion Resistance | Maintenance | Typical Cost Tier |
|---|---|---|---|
| Vinyl | Good — no metal finish to corrode | Low | $ |
| Fiberglass | Very good — dimensionally stable, holds finish well | Low | $$-$$$ |
| Wood-clad | Depends on cladding and joint sealing; interior wood needs protection from moisture | Moderate to higher | $$$-$$$$ |
| Bare Aluminum | Weakest in salt air without a quality coating; prone to pitting over time | Moderate | $-$$ |
As a matter of professional standard, we steer coastal projects away from unclad or poorly coated aluminum frames — not because aluminum can't be made to work, but because the finish quality that keeps it corrosion-resistant in salt air adds cost and isn't consistent across manufacturers, and the failure mode (pitting, streaking) is slow and easy to miss until it's advanced. Vinyl and fiberglass give more predictable long-term performance for the money in this climate.
Meeting Washington's Energy Code in a Marine Climate Zone
Whatcom County falls within Washington's marine climate zone under the state energy code, and new construction has to meet minimum window performance requirements as part of that code — generally a maximum U-factor in the neighborhood of 0.30 or better for the whole-window assembly, verified against the current Washington State Energy Code (WSEC) requirements and whichever compliance path your project is using. Because code minimums are updated periodically, we confirm the current requirement against your specific permit rather than assuming last cycle's numbers still apply.
Beyond the code minimum, U-factor and air infiltration ratings matter more here than solar heat gain — our marine climate doesn't put much cooling load on a house, so the bigger win is a tight, well-insulated frame and a good seal, not a low solar heat gain coefficient.
How We Install New-Construction Windows
The steps themselves aren't a secret — most manufacturers publish an installation guide. What separates a correct install from a problem install is discipline about following that sequence exactly, every time, on every opening, even the ones that are hard to reach or behind scaffolding.
Rough Opening Inspection and Prep
Before any window goes in, we check the rough opening for square, level, and correct dimensions, and confirm the sheathing and housewrap are sound. Problems here are far cheaper to fix before the window is set than after.
Sill Pan Flashing and WRB Integration
We install a sloped sill pan flashing so any water that gets past the window has somewhere to go besides the wall cavity, then integrate the window flange with the housewrap in proper shingle-lap order — housewrap, sill flashing, window, jamb flashing, head flashing — so every layer drains onto the one below it.
Setting, Shimming, and Sealing
The window is shimmed plumb, level, and square, fastened per the manufacturer's schedule with corrosion-resistant fasteners, and the perimeter gap is insulated without over-packing it, which can bow the frame. Sealant goes where the manufacturer specifies — not as a substitute for correct flashing, but as a secondary layer.
Final Check
Every window gets operated, checked for square reveal, and inspected for consistent sealant lines before we call it done.
- Rough opening checked for square, level, and correct size before the window arrives
- Sloped sill pan flashing installed under every window, no exceptions
- Housewrap and flashing tape lapped in correct shingle order — no reverse laps
- Corrosion-resistant fasteners and hardware used throughout
- Window shimmed plumb, level, and square, not just "close enough"
- Perimeter gap insulated per manufacturer guidance, not overstuffed
- Sealant applied per manufacturer instructions as a secondary defense, not the primary one
- Every window operated and reveal-checked before the crew moves on
Coordinating With Your Builder or GC
On a new build, window installation sits in a tight window in the schedule — after the sheathing and housewrap are on, before the siding trades start. Miss that sequencing and you either delay the siding crew or, worse, someone works around an incomplete flashing detail to keep the schedule moving. We coordinate directly with your general contractor or framing crew so window installation happens at the right point in the build, with the wall assembly in the right state when we start.
Why Hire a Crew That Already Works Peace Arch
A window flashing detail that works fine on a sheltered inland lot can fail on an exposed elevation facing open water, and the difference isn't always obvious from a set of plans. Crews who regularly work the Peace Arch and broader Semiahmoo area have a feel for which elevations take the worst of the wind-driven rain, which frame materials hold up under years of salt air, and how to sequence a build so the windows are protected the moment they're set — not just on paper, but on the actual site conditions this stretch of Whatcom County produces. That local pattern recognition is hard to substitute for, no matter how good a general installation guide is.
If you're planning a new build or a full re-side in the Peace Arch area and want a straight answer on what your window openings need, we're happy to take a look and put together a free, no-pressure estimate — just fill out the form below.